Japan Apple Stores as Disaster Headquarters
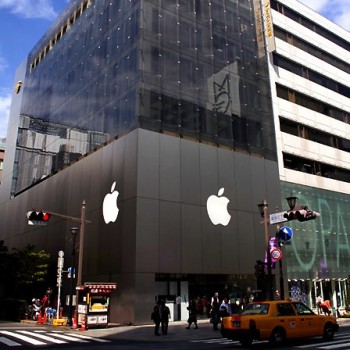
I’d like to think that many companies were as generous as Apple Japan was during the recent earthquake/tsunami disasters, but I’m not sure how they could be. With Apple’s unique store setup (room for lots of people, fast internet, urban location) making them ideally suited for being disaster relief headquarters, … Read more