I’ve recently set out on a quest to find great accessories, paraphernalia, and protective covers for my semi-newly purchased MacBook Air. When I do something, I do it big – and switching to Mac from PC is no exception. Over the next few weeks I’ll be posting a series of articles on different gear that I’ve purchased to accompany my laptop and/or iPad.
What I started with first was different ways to accessorize/decorate the MacBook Air. I started first by exploring my different skinning options. Skins are pretty high-end stickers with graphic designs customized to your style. The elephant in the room when it comes to electronic decorations is Skinit. Skinit is the biggest player in the game when it comes to skins, as I’ve heard even non-techy people talk about the brand. You can check out Skinit here.
Skin Options & Designs
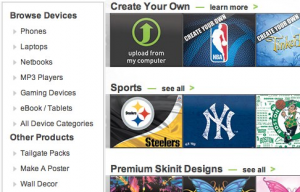
Skinit literally lets you skin just about any electronic device. On their site, they list the standards such as laptops and phones, but they also skin devices like Wii’s and Wii controllers, Portable DVD Players, Ti-83 calculators (remember those?), Routers, and Glucose monitors. So basically, they can skin almost every electronic device in your life.
The skin designs also range widely in tastes. The standards are sports teams and pop-music, but there are also classical artist skins for the more refined tasks out there, Disney characters for the kids, emo for the emos, hip styles for the hipsters, and on and on. You also have the option of uploading your own images to create your own skin.
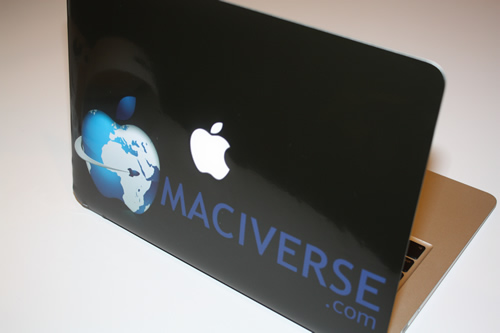
Color me boring, but I elected to skin a normal electronic device, the MacBook air, with a pretty simple custom design – the Maciverse logo.
Creating a Custom Design
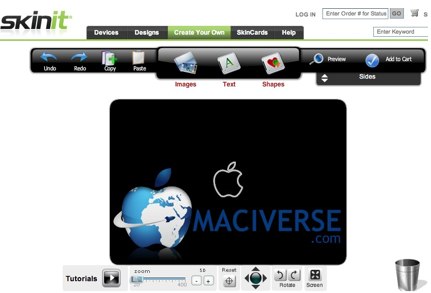
The process for creating a custom design was rather painless. I took the Maciverse logo and uploaded it directly to Skinit. I then picked a background color (black), and finally I positioned all of the different elements exactly how I wanted them laid out. The design canvas I worked on even included the Apple that is on the back of the laptop screen, so I had an anchor to orient the rest of the elements around. Here’s a screenshot I took while getting everything just right:
Getting Setup
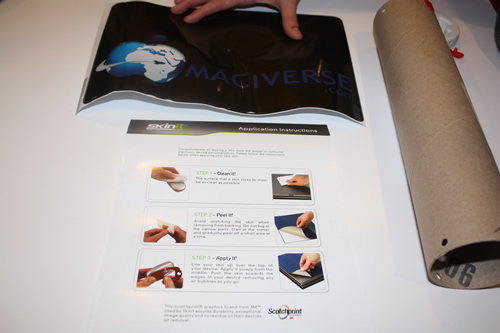
I received the custom design really fast. Its printed on 3M adhesive material that feels pretty tough. While I don’t think that it would protect you from hard scratches, it’ll definitely prevent the day-to-day normal wear and tear from showing on the back of your screen. The printing job they did with the logo was really good. If you get really close, you can see a tiny bit of pixilation, but I’m not sure if that was from the dpi on the logo I used or a limitation of their printing process. Either way, you’d have to be really close to see what I’m talking about, and it wouldn’t deter me from doing another custom skin in the future.
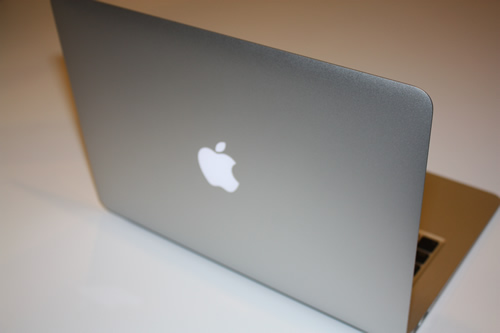
I’m a perfectionist, so it took me a good 3 tries and 10 minutes to get it to lay on the laptop exactly as I wanted it. I really love the way the apple looks when its lit up against the black background color I chose for the design. The reactions from people have been really interesting. Some people act like its no big deal, others think its so cool that “your laptop is customized”. Its definitely a nice touch that’ll help a nerd peacock. Below are before & after photos:
Final Thoughts
I’d use Skinit again for myself in the future, and I also think that it would make for a really unique gift idea. If you are interested in skinning your own device via Skinit (they can skin basically every electronic device in every design combination you can think of), check them out here. Full Disclosure: Maciverse received a free Skinit order for this review. However, the thoughts and opinions are completely our own and are not influenced by anyone at Skinit.

