Quick Answer: Organize your iPhone photos by creating and managing albums. This guide provides step-by-step instructions to help you keep your photo library clutter-free and easily accessible.
Why Organize Your Photo Albums?
Organizing photo albums on your iPhone offers several benefits:
- Efficient Accessibility: Quickly find specific photos without scrolling through your entire library.
- Time-Saving Retrieval: Easily retrieve cherished memories, saving you time and frustration.
- iCloud Integration: Keep your organized albums synced across all Apple devices with iCloud Photos.
1. Premade Albums in the Photos App
Automatic Organization:
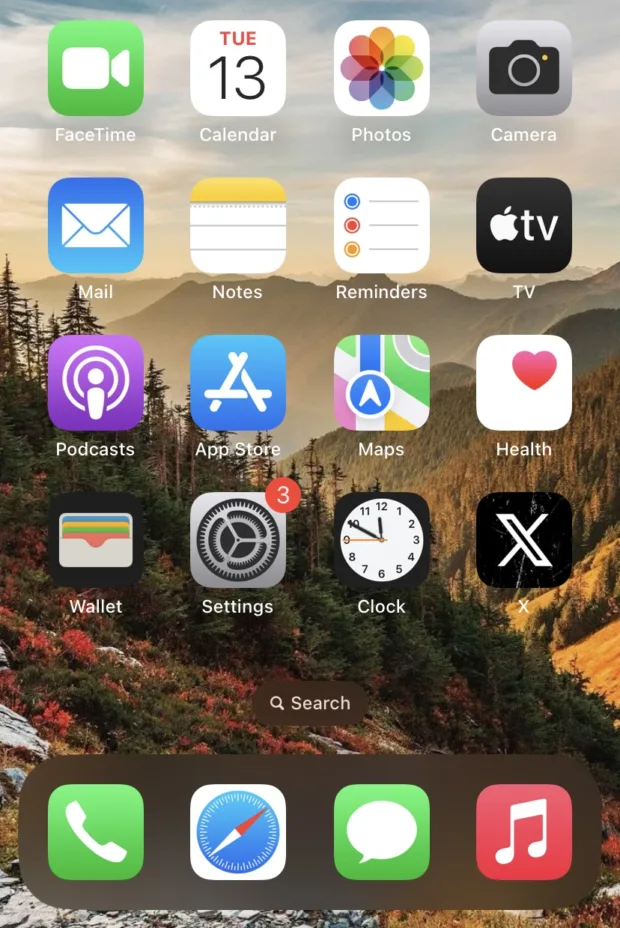
- The Photos app automatically categorizes your photos into premade albums like Favorites, People & Places, and Media Types, offering a convenient way to access specific types of content quickly.
Utilizing Premade Albums:
- Use these premade albums to quickly find recent photos or those organized by people, locations, or media type, such as videos or selfies.
2. Creating a New Album
- Open the Photos App: Locate and open the Photos app on your iPhone’s home screen.
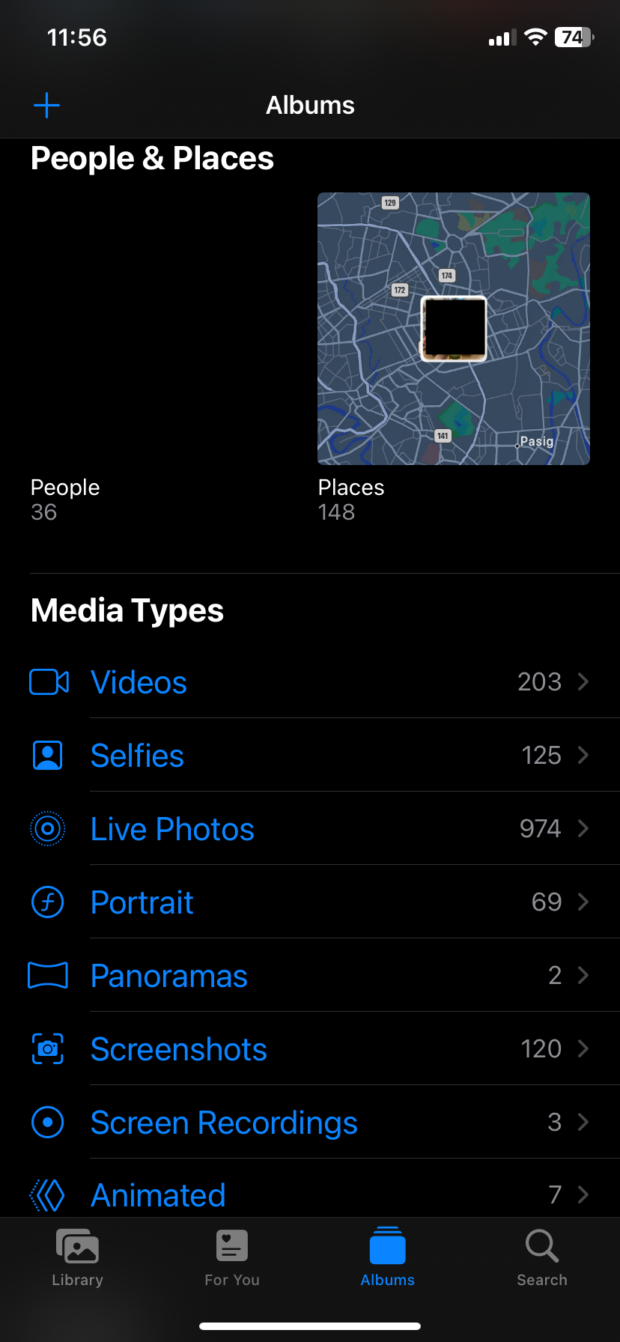
- Navigate to Albums: Tap on the Albums tab at the bottom of the screen to navigate to your albums.

- Tap the Plus Icon: Look for the Plus icon in the top-left corner and tap it to initiate the album creation process.

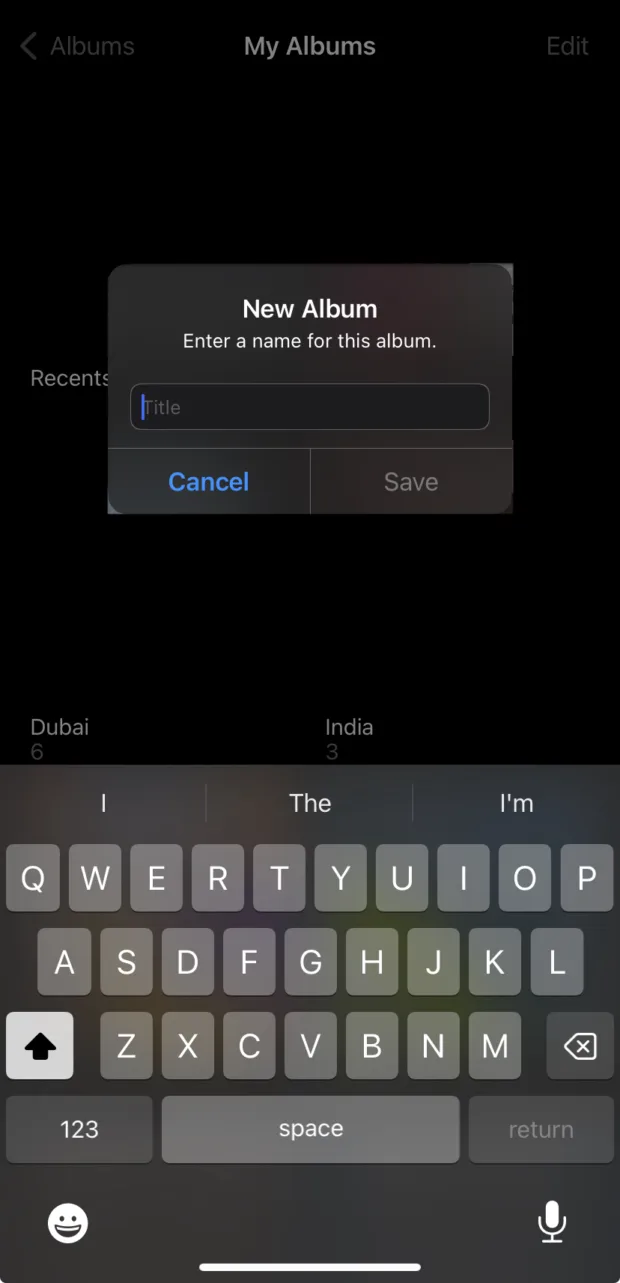
4. Select “New Album”: From the dropdown menu, select “New Album” to create a new and personalized photo album.
5. Name and Save: Give your album a meaningful name and tap Save to create the album for future use.
Adding Photos to an Album
- Inside the Photos App: Open the Photos app on your iPhone.
- Selecting Pictures and Videos: Navigate to the desired photos or videos you want to add to your album.
- Using the Share Button: Tap the Share button at the bottom of the screen to access sharing options.
- Options for Adding: Choose “Add to Album” or “Add to Shared Album” based on your preference. Select the specific album you want to add the photos to.
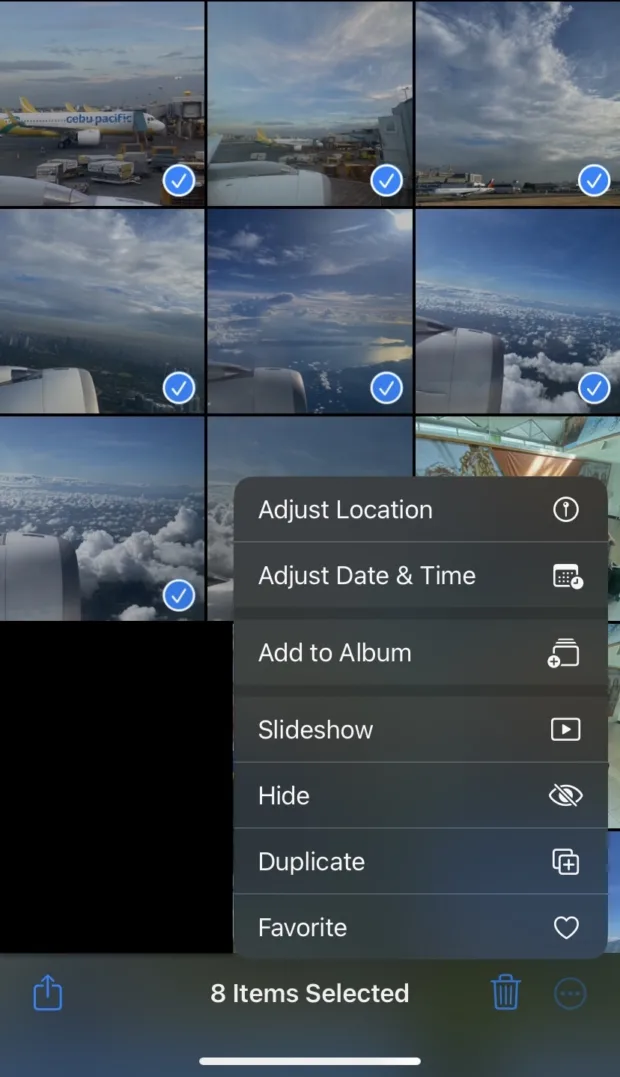
- Emphasize Non-Removal: Adding photos to an album doesn’t remove them from the main Photos tab, ensuring your library remains comprehensive.
Removing Photos from an Album
- Open the Album: Locate and open the album from which you want to remove a photo.
- Tap Select: Tap the Select option in the top-right corner to initiate the removal process.
- Choose the Photo: Select the photo you want to remove from the album.
- Tap the Delete Icon: Tap the delete (trash can) icon to remove the selected photo from the album.
- Opt for “Remove from Album”: Choose “Remove from Album” to exclude the photo from the album without deleting it from your library.

Renaming and Rearranging Albums
- Access Albums Tab: Navigate to the Albums tab within the Photos app.
- Tap “See All”: Tap “See All” at the top of the screen to access all your albums.
- Tap Edit and Rename: Select Edit, then tap the existing album’s name to rename it according to your preference.
- Instructions for Rearranging: To rearrange albums, tap Edit, drag and drop the albums to your desired positions, and tap Done when finished.
Deleting an Album
How to Delete Albums:
- Access Albums Tab:
- Open the Albums tab in the Photos app.
- Tap “See All”:
- Tap “See All” to view all your albums.
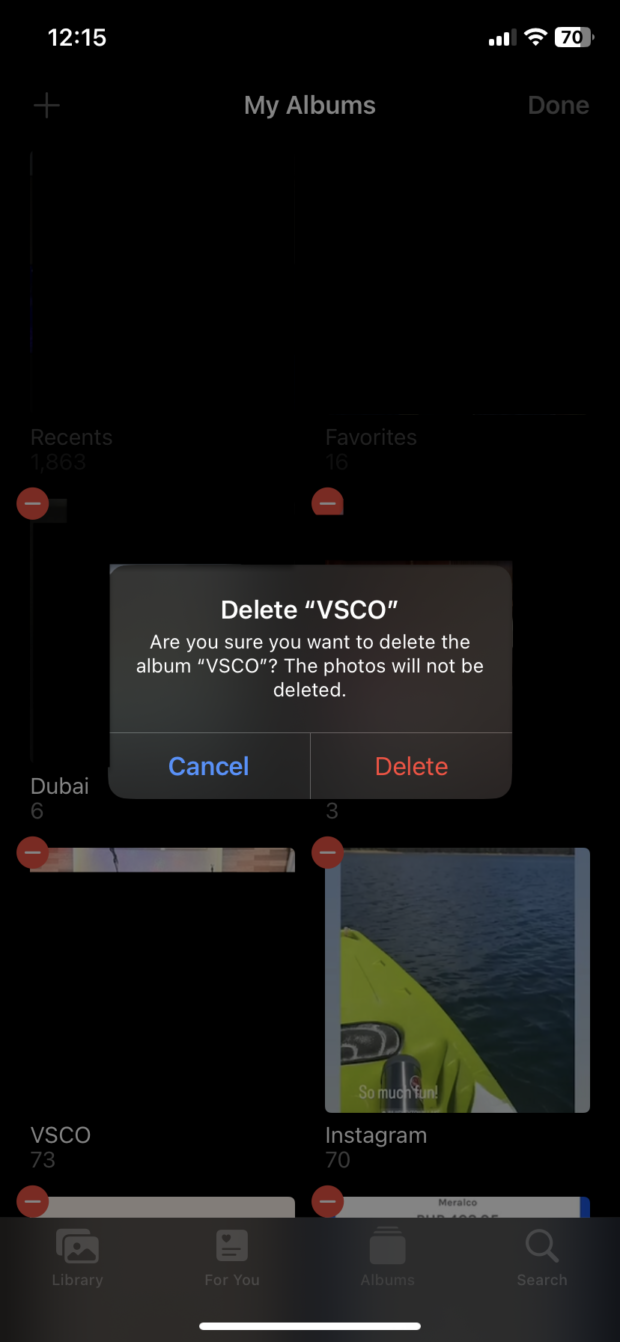
- Tap Edit:
- Tap Edit in the top-right corner.
- Tap Minus Sign:
- Tap the minus sign (-) next to the album you want to delete.
- Confirm Deletion:
- Confirm by tapping “Delete Album,” then tap Done to complete the process.
Conclusion
Organizing your photo albums on your iPhone is crucial for maintaining a streamlined and enjoyable user experience. By following these steps, you can effectively create, manage, and organize your photo albums, ensuring your iPhone remains a personalized gallery of your cherished memories.
