If you own a Mac, you’re in possession of a powerful toolset that often goes unnoticed – the Utility Folder. This unassuming directory holds a variety of utilities that can significantly enhance your Mac’s performance and help you troubleshoot issues. In this guide, we’ll walk you through the process of accessing and making the most of these hidden gems.
Interesting articles:
- How to Set Up and Use FileVault for Disk Encryption on Your Mac
- How to Password Protect a Folder on a Mac
Step 1: Understanding the Mac’s Utility Folder
Before we dive into the details, let’s grasp the significance of the Utility Folder. Think of it as your Mac’s toolbox, packed with specialized tools for various technical needs. These utilities can be invaluable in managing, optimizing, and maintaining your Mac.
Step 2: Navigating to the Utility Folder
Let’s get started by finding the Utility Folder. Here are three simple methods to access it:
Method 1: Finder Shortcut
- Open a Finder window by clicking on the smiling blue face icon in the Dock.
- In the Finder window, look for the “Applications” section in the sidebar.
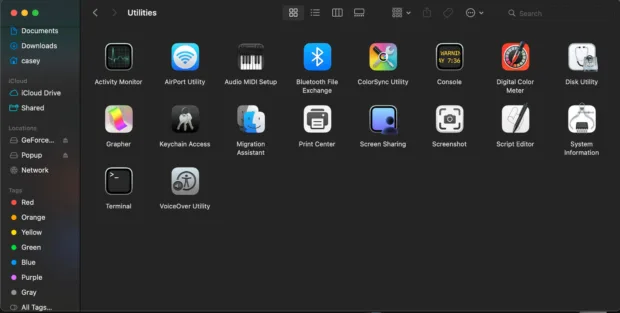
- Within “Applications,” locate and click on the “Utilities” folder.
Method 2: Go Menu
- Open a Finder window.
- In the menu bar at the top of the screen, click on “Go.”
- From the dropdown menu, select “Utilities.”
Method 3: Spotlight Search
- Press Command + Spacebar to open Spotlight.
- Type “Utilities” in the search bar and hit Enter.
- Click on the “Utilities” folder in the search results.
Step 3: Exploring Notable Utilities
Now that you’re in the Utility Folder, let’s explore some essential utilities and their purposes:
Utility 1: Disk Utility
- Manage and format storage devices.
- Diagnose and repair storage-related issues.
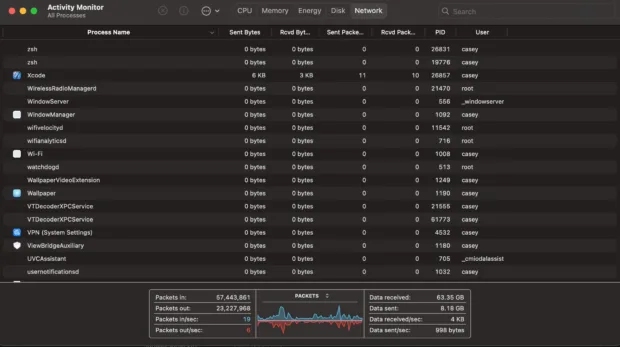
Utility 2: Activity Monitor
- Monitor CPU usage, memory consumption, and network activity in real-time.
- Identify resource-intensive processes and applications.
Utility 3: Terminal
- Access the Mac’s command line interface for advanced commands.
- Troubleshoot issues and automate tasks efficiently.
Step 4: Streamlining Workflow
To make the most of these utilities and streamline your workflow, consider these two methods:
Method 1: Drag to Dock
- Locate a utility application in the Utility Folder.
- Click and hold the application.
- Drag it to your Dock for quick access.
Method 2: Create Alias
- Right-click on a utility in the Utility Folder.
- Select “Make Alias.”
- Move the alias to your preferred location for easy access.
Step 5: Real-World Applications
Let’s see how you can apply these utilities in real-world scenarios:
- Troubleshooting Common Issues: Use Disk Utility to repair disk permissions, and Activity Monitor to identify and terminate unresponsive applications.
- Enhancing System Performance: Utilize Terminal for advanced system optimizations, and Activity Monitor to swiftly diagnose and resolve network-related problems.
- Managing Storage and Disks: Disk Utility is your go-to tool for managing storage devices, formatting disks, and ensuring data integrity.
Conclusion
In conclusion, your Mac’s Utility Folder holds a wealth of powerful tools waiting to be explored. By understanding, accessing, and utilizing these utilities, you can unlock your Mac’s true potential. Don’t hesitate to dive in and discover the hidden gems that can elevate your Mac experience.
Now that you’ve learned how to maximize utilities in your Mac’s Utility Folder, take action! Explore these tools, experiment with them, and share your experiences with fellow Mac users. Let’s harness the power of these hidden gems together!